Find The Pixel Controls & HUD
Movement, camera, ball aim, HUD clusters, and mobile versus desktop tips so day-one digs stay readable after UI patches.
Why controls deserve their own page
Getting Started covers the day-one checklist. This guide goes deeper on how you actually aim, move, and read the HUD in Find The Pixel — the Roblox adventure from Pickled Inc where you break millions of pixels with upgradeable balls, explore biomes, fight bosses, collect relics, hunt the Golden Pixel, and rebirth.
UI buttons can move after patches. When something “vanished,” rejoin a fresh server before assuming your account broke, then skim the Updates Hub.
Roblox movement assumptions
Find The Pixel runs on standard Roblox avatar movement unless a mode overlay says otherwise:
- Desktop —
WASDto walk;Spaceto jump;Shiftmay sprint depending on your Roblox settings - Mobile — left thumbstick for move; jump button on the right cluster
- Gamepad — left stick move, face buttons for jump; confirm bindings in Roblox Settings if dig feel is sluggish
You will spend a lot of time on cliff faces, tunnel floors, and arena rims. Practice short lateral shuffles so you can dodge hazard pixels without losing camera lock on the dig face.
Camera that makes tunnels readable
Destruction games punish bad camera more than bad DPS.
- Look — hold right mouse on desktop, or drag with one finger on mobile
- Zoom — scroll wheel or pinch so you can see both the impact point and the depth behind it
- Height — lift the camera slightly above head height when cutting highways; drop it when detailing dense seams
- Avoid — extreme first-person nose-to-wall views that hide bounce trajectories
Strategy advice: before a long Golden Pixel grid, agree that everyone keeps a medium zoom so callouts like “column left of the blue seam” stay meaningful.
Placing and aiming balls
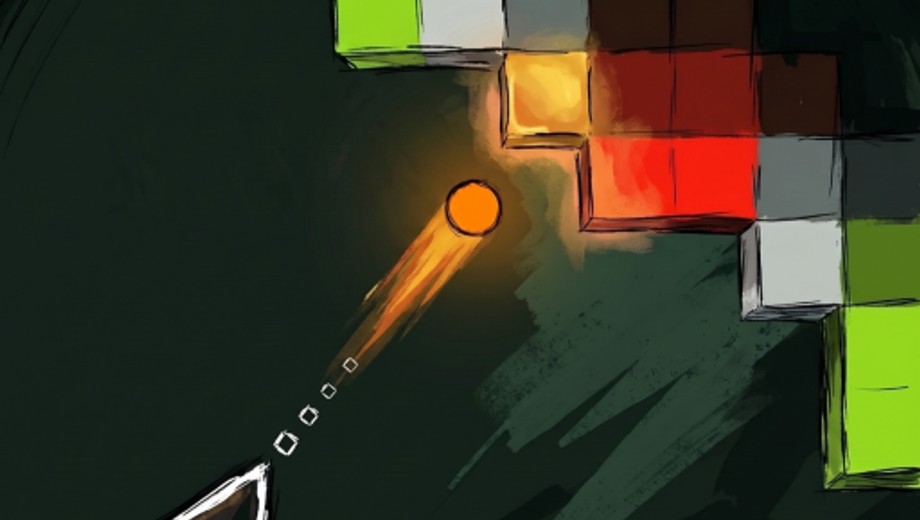
The fantasy expects you to launch or place your active ball into pixel clusters and watch destruction propagate. Exact click-versus-hold behavior can vary after tutorials or patches, so treat this as the working model:
- Select the ball loadout you intend to use (Balls & Upgrades)
- Aim at a surface — not empty air past the cliff
- Click / tap to fire or place
- Watch the break pattern, then reposition for the next volume slice
Tips that save currency and time:
- Hit the face, not the void — missed shots teach nothing and waste rhythm
- Commit to an archetype — splash clearers want wide exposed walls; piercing kits want dense seams
- Do not spam blindly — two thoughtful shots beat ten panicked clicks into already-empty space
- Leave an exit — always keep a walkable path out of the pocket you just opened
If balls feel underpowered, redeem codes (REB1RTH, 60KVISITS) and fund your primary path before blaming the input scheme.
HUD clusters to memorize early
Exact button art changes, but early sessions usually expose these clusters:
| Cluster | What you use it for | If it “disappears” |
|---|---|---|
| Codes / Rewards | Redeem REB1RTH and 60KVISITS | Rejoin; check description + Codes Hub |
| Upgrades / Balls | Spend currency into archetypes | Confirm you are not in a cutscene lock |
| Inventory / Relics | Equip finds for the session goal | Scroll lists; filter by newest |
| Rebirth | Read keep-versus-loss text | Screenshot tooltips for the party (Rebirth Guide) |
| Shop | Optional purchases | Never required to learn controls |
| Settings | Camera, accessibility, audio | Check after every big client update |
Patch reality: Codes, Shop, and Settings may relocate on the screen after Pickled Inc updates. Rejoin once, then hunt the new icon row instead of reinstalling Roblox.
Desktop versus mobile tips
Desktop strengths — precise aim, easier multi-window wiki use, faster chat callouts for co-op. Bind a comfortable camera sensitivity so micro-adjustments on boss telegraphs feel natural (Bosses Guide).
Mobile strengths — play anywhere; great for short farm sessions. Use a higher zoom when detailing seams, and consider a grip that lets one thumb aim without covering the fire control. Disable aggressive battery savers that tank frame rate mid dig.
Cross-play crew tip: if mixed platforms dig together, desktop players should call slightly larger landmarks so mobile teammates can spot them on smaller screens (Players Hub).
Accessibility and Settings checks
Open Roblox and in-experience Settings early:
- Confirm camera sensitivity is not extreme
- Check whether shift-lock or similar modes help or hurt tunnel strafing
- Raise UI scale if HUD text is hard to read on your display
- Verify mute / music sliders so boss audio cues are not buried
- Look for any colorblind or reduced-motion toggles the experience exposes — confirm live in Settings; do not assume every Roblox game ships the same list
If a friend plays with different accessibility options, sync callout language (“left seam,” not “the red blink”) so nobody is excluded.
Common stuck cases (and fixes)
- Cannot find Codes button — rejoin; check the latest HUD; still missing → read Codes for description-side reminders and group news via Pickled Inc.
- Balls bounce into empty space — zoom out, aim lower on the wall face, swap toward a piercing-leaning upgrade path.
- Soft-locked in a hole — dig laterally toward light or a remembered highway; ask a co-op clearer to open a ramp if you play with friends.
- Camera inside terrain — zoom out, walk backward, or reset character from Roblox menu if the client wedged you.
- UI frozen after shop or rebirth panel — close the panel, wait two seconds, rejoin if inputs stay dead.
- Friend sees different buttons — version skew; both rejoin the same fresh server after an update.
- Progress feels stuck despite good aim — controls are fine; you need upgrades, biomes routing, or a planned rebirth (Biomes Guide, Rebirth Guide).
Practice routine (ten minutes)
Use this after Getting Started or any patch:
- Redeem codes if unclaimed
- Open a shallow pocket near safe terrain
- Fire ten aimed shots at a flat wall; count clean hits versus voids
- Strafe left/right without losing the wall in frame
- Zoom to detail a dense seam, then zoom out for a highway cut
- Open each HUD cluster once so muscle memory returns
- Invite a friend for a two-minute callout drill if you plan bosses or hunts tonight
Controls mindset for long sessions
Good inputs compound with good systems play. Clean aim feeds Balls & Upgrades efficiency, readable cameras make boss telegraphs fair, and stable HUD knowledge means you never miss a code drop announced on Updates. When someone offers an executor that “auto aims Golden Pixel,” read the honest Scripts Hub instead — account safety beats spoiled hunts.
Master movement, camera, and aim first. The millions of pixels will still be there; your hands should already know what to do when the next biome opens.
Frequently Asked Questions
Quick answers to the most common questions.
What are the basic Find The Pixel controls?
Use standard Roblox movement (WASD or thumbstick), adjust camera with right-mouse or drag, and click or tap to launch or place your active ball into pixel surfaces.
Where did the Codes or Shop button go?
HUD clusters can move after patches. Rejoin a fresh server, scan the icon row again, and check the Updates Hub plus Codes Hub before assuming a bug.
Any tips for mobile players?
Keep a medium-high zoom for dense seams, protect your fire control from fat-finger camera drags, and ask desktop teammates to call larger landmarks in co-op.
How do I fix getting stuck in a dig hole?
Cut a lateral ramp toward open space, zoom out to find your highway, or have a co-op clearer open an exit. Reset character only if the client truly wedged the camera.
Where are accessibility options?
Check Roblox Settings and the in-experience Settings panel for sensitivity, UI scale, audio, and any colorblind or motion toggles the live build exposes.
What should I read after learning controls?
Return to Getting Started if needed, then Balls & Upgrades for spending, and the Players Hub if you are forming a 2–4 friend crew.