Getting Started in Find The Pixel
Day-one checklist for Roblox players: group join, codes, controls, first biome clears, upgrades, and when rebirth starts to matter.
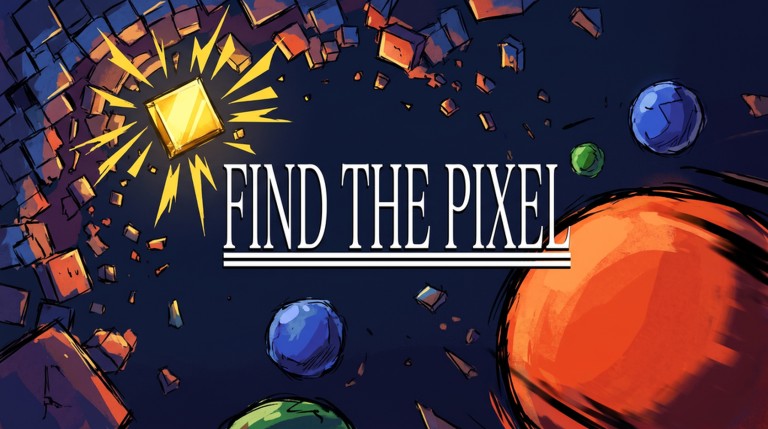
Welcome to the pixel dig
Find The Pixel is a Roblox adventure from Pickled Inc. You break through a destructible world of countless pixels using upgradeable balls, push into new biomes, fight bosses, collect relics, hunt the hidden Golden Pixel, and eventually rebirth for lasting power. You can dig alone or bring up to four friends.
This guide is the day-one route. Follow it in order once, then branch into specialized pages like Balls & Upgrades, Biomes, and Golden Pixel.
Step 0 — Join Pickled Inc and bookmark the wiki
Before you obsess over perfect tunnels:
- Open the Pickled Inc group and join.
- Favorite the Find The Pixel experience so it stays on your Recents/Favorites list.
- Keep this wiki handy — especially Codes and Updates.
Group membership is how many players hear about fresh codes and sneak peeks first.
Step 1 — Redeem both working codes
As listed in the official description, redeem:
REB1RTH60KVISITS
Type them exactly (digit 1 in REB1RTH, not letter I). Official copy frames the gifts as epic rewards. Claim them before you spend your first stack of currency so early upgrades stretch further. Full troubleshooting lives on the Codes Hub.
Step 2 — Controls assumptions (click, place, camera)
Roblox experiences vary slightly after UI patches, but Find The Pixel’s fantasy expects you to aim or place balls into pixel surfaces and watch destruction propagate. Use these starter assumptions until the tutorial overlays teach otherwise:
- Camera — right-mouse or mobile drag to look; scroll or pinch to zoom so you can see tunnel depth
- Movement — standard WASD / thumbstick to reposition along cliff faces and biome floors
- Break action — click/tap to launch or place your active ball into a pixel cluster
- UI hubs — locate Inventory / Upgrades / Codes / Rebirth buttons early and remember their layout after patches
If a control feels wrong after an update, rejoin a fresh server before assuming your account is broken. Then skim Updates for UI move notes. For a deeper HUD and aim breakdown, open the Controls & HUD Guide.
Step 3 — Clear a safe pocket in the first biome
Do not charge the horizon on minute one. Open a wide, shallow pocket near spawn-friendly terrain so you always have room to retreat, regroup with friends, and store a mental landmark.
Goals for the first fifteen minutes:
- Learn how soft early pixels break versus denser seams
- Practice aiming so balls do not bounce into useless empty space
- Spot any tutorial prompts about upgrades, relics, or bosses
- Decide whether you prefer wide splash clears or focused piercing shots
When the pocket feels stable, push one lane deeper rather than spider-webbing randomly. The Biomes Guide explains expand-versus-deepen tradeoffs in more detail; early on, depth with an exit path beats chaotic Swiss cheese.
Step 4 — Early upgrades without wasting currency
Spend code rewards and first drops on the upgrade that removes your biggest friction:
- If walls take forever → clear-speed or splash-oriented ball power
- If you bounce off dense seams → piercing-oriented upgrades
- If you keep losing your place → quality-of-life / movement comfort if offered
Avoid buying one level in every shiny node. Incremental destruction games reward focusing a primary ball archetype before diversifying. Use Balls & Upgrades and the Balls Tier List once you have two or three unlock choices.
Step 5 — Meet the co-op loop early
Even if you prefer solo, run one short session with a friend:
- Share code status so nobody is underpowered
- Assign a clearer and a scout for five minutes
- Practice calling a target wall in chat
Etiquette and recruiting tips live on the Players Hub and the dedicated Co-op Guide. Good habits now make later boss fights and Golden Pixel grids much less chaotic.
Step 6 — First boss awareness (do not force it)
Boss encounters appear as you push riskier pockets. On day one, treat a boss as optional homework:
- Top off upgrades
- Bring a friend if possible
- Agree on focus fire
- Leave if telegraphs feel overwhelming
Deep prep belongs in the Bosses Guide. Dying repeatedly on day one teaches less than expanding a profitable farm lane.
Step 7 — When to think about rebirth
Rebirth is part of the game’s identity (the listing itself leans on rebirth branding). That does not mean you should reset in the first hour.
Consider reading the Rebirth Guide when:
- Your main biome lane feels slow even after focused upgrades
- The UI shows clear rebirth rewards you understand
- You are willing to redo early clears with permanent power
- Your co-op team agrees the shared run can handle a reset
If the button looks shiny but the tooltip is confusing, wait. Confirm keep-versus-loss text in your live client instead of trusting rumor spreadsheets.
Step 8 — Set a mid-term goal
Pick one headline goal for your second session:
- Fully upgrade one starter-friendly ball archetype
- Map two biome transitions (Biomes Guide)
- Complete one clean boss attempt (Bosses Guide)
- Sketch a Golden Pixel search pattern with friends (Golden Pixel)
- Rank your relic finds (Relics Guide, Relics Tier List)
Clear goals beat aimless digging — and they make Pickled Inc updates easier to evaluate.
Common beginner mistakes
- Skipping codes and wondering why friends outpace you
- Spreading upgrade currency across every unlock
- Digging infinite hairline tunnels with no landmarks
- Forcing bosses before ball power is ready
- Rebirthing because chat said “always rebirth ASAP” without reading tooltips
- Downloading random executors instead of learning routes (Scripts Hub)
Day-one checklist (copy this)
- Joined Pickled Inc
- Redeemed
REB1RTHand60KVISITS - Found Codes / Upgrade / Rebirth UI locations
- Cleared a safe starter pocket with an exit path
- Invested currency into one primary ball plan
- Bookmarked Guides, Codes, and Tier List hubs
- Invited at least one friend or noted solo plan
- Set a single goal for tomorrow’s session
You are ready. Smash thoughtfully, upgrade with intent, and jump to the linked systems guides whenever a mechanic becomes your new bottleneck.
Frequently Asked Questions
Quick answers to the most common questions.
What should I do first in Find The Pixel?
Join Pickled Inc, redeem REB1RTH and 60KVISITS, learn camera and ball controls, then clear a safe pocket in the starter biome before spreading upgrades.
What are the beginner controls?
Expect standard Roblox movement plus click/tap to launch or place balls into pixels. Use camera zoom to read tunnel depth. Rejoin if a patch moved UI buttons.
Should I rebirth immediately?
Usually no. Read the Rebirth Guide and in-game tooltips first. Rebirth when upgrades plateau and you understand what you keep versus reset.
Is Find The Pixel better solo or co-op?
Both work. Solo is fine for learning. Co-op with up to four friends shines for bosses and Golden Pixel searches once everyone redeemed codes.
Where do I go after this guide?
Balls & Upgrades and the Balls Tier List for spending, Biomes for routing, then Bosses or Golden Pixel depending on your goal.